프로젝트 시작 설정

위 사이트에서 프로젝트를 생성해 다운받아서 진행하거나
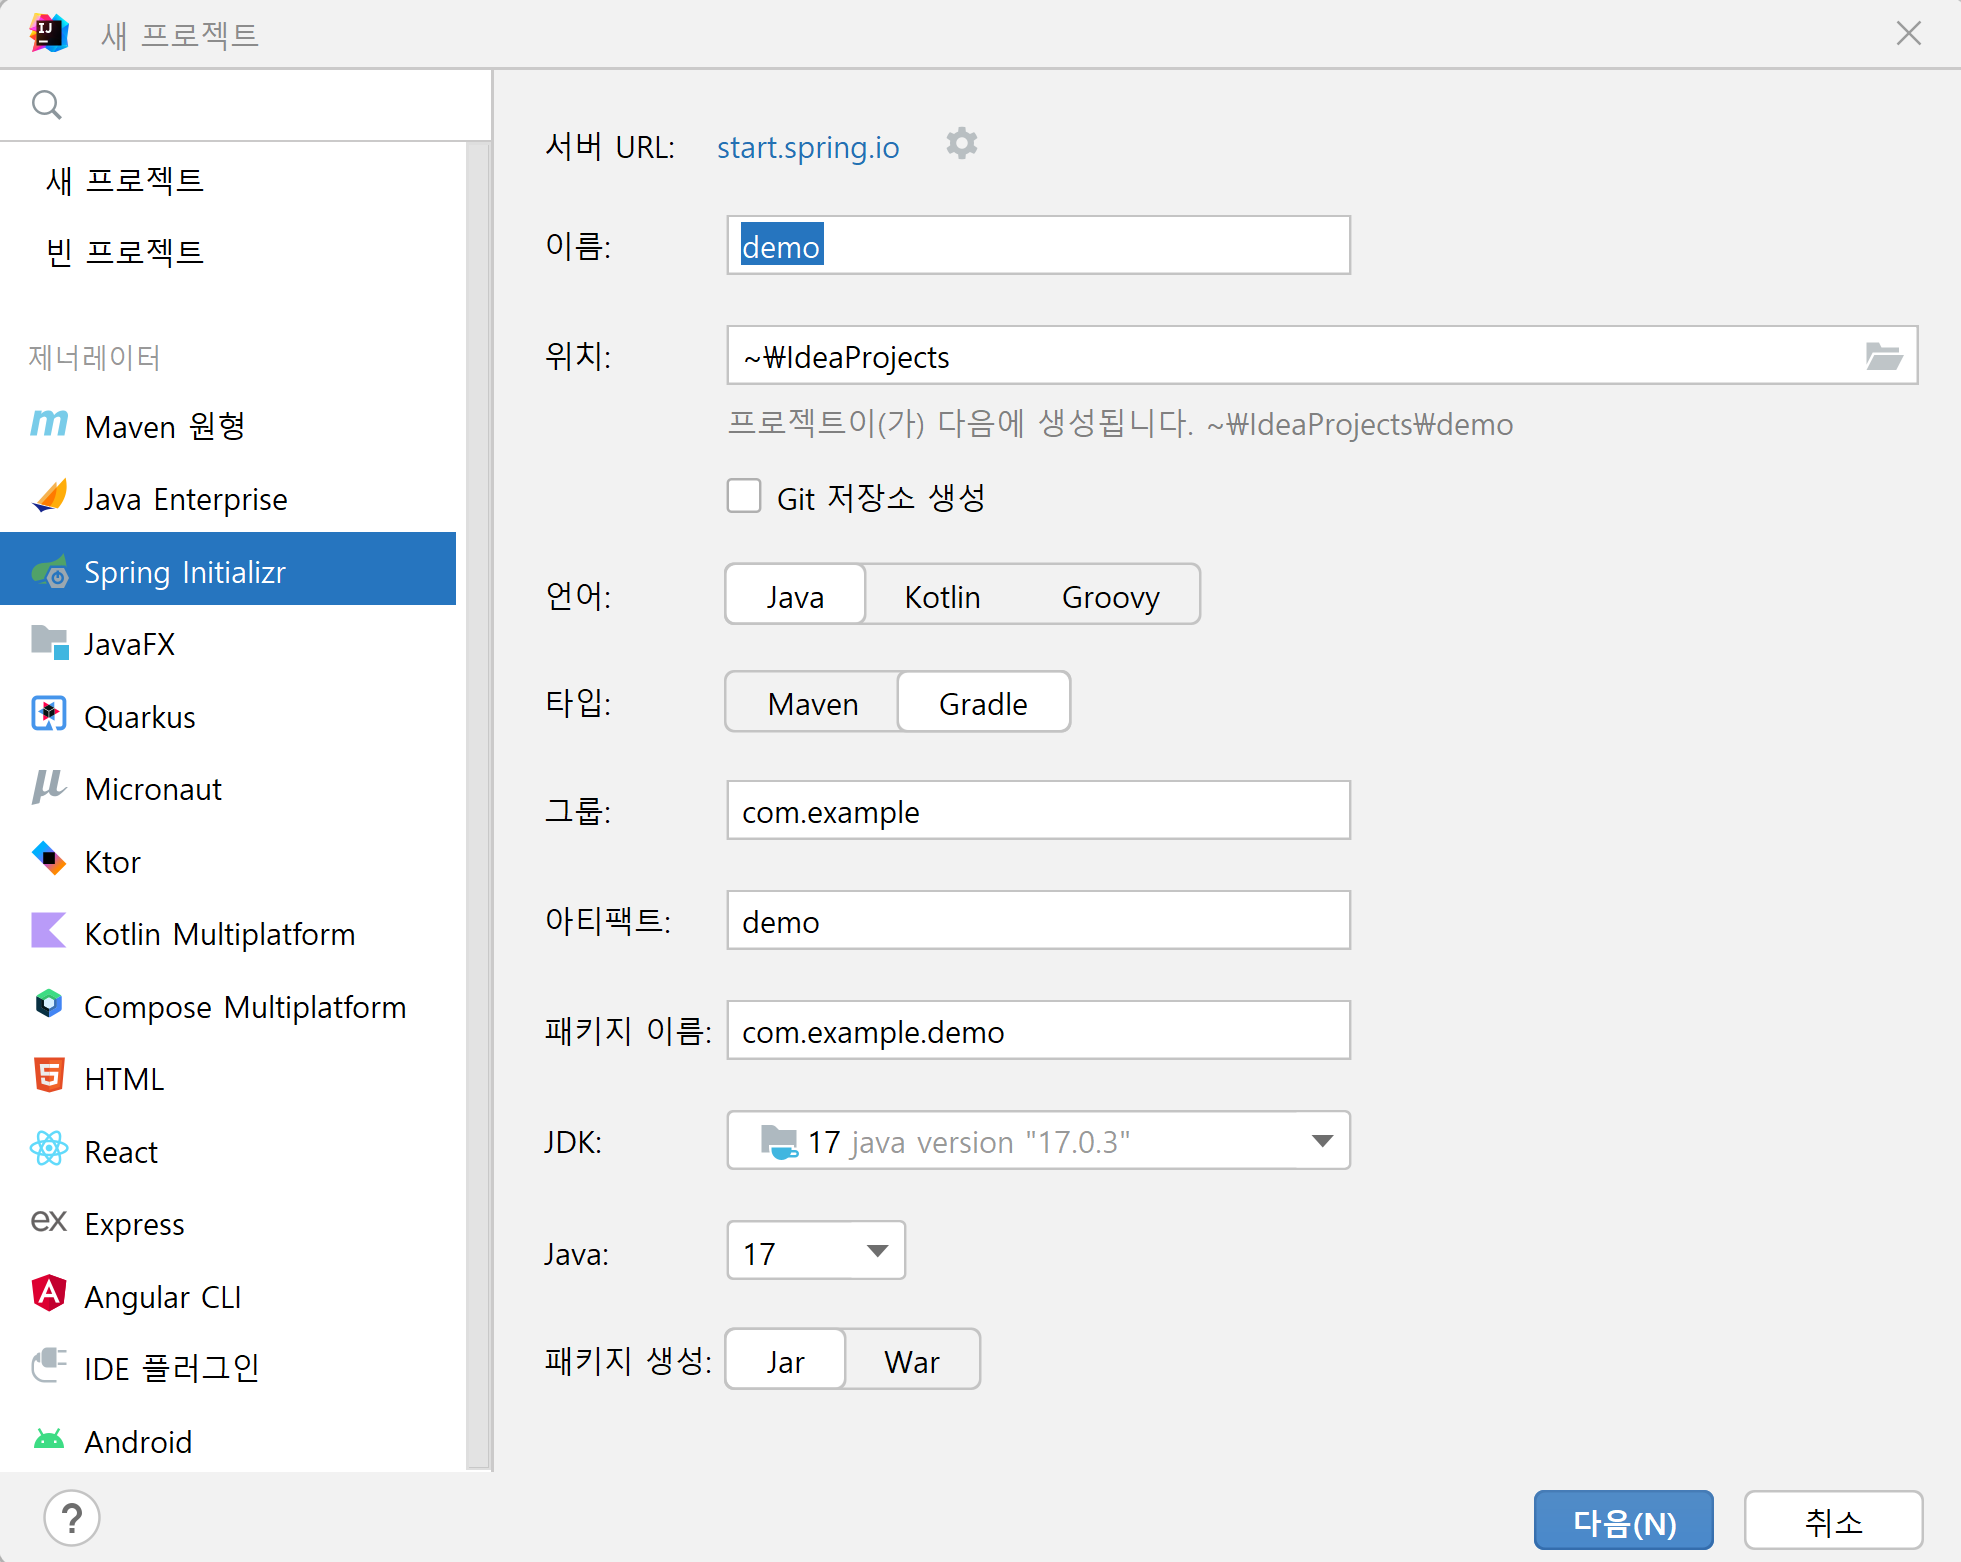
프로젝트선택
Project : Gradle
SpringBoot : SNAPSHOP 과 M 제외
Snapshot → M (Milestone) → RC (Release Candidate) 순으로 개발이 완료되어 가는 단계를 의미하고, 맨 마지막 단계쯤에서는 거의 개발 완료로 더이상 버그가 없다면 그대로 출시된다.
Language : java
Package : jar
java : 17
Dependancies : Spring Web, Thymeleaf (html템플릿엔진임)
아래와 같이 인텔리제이에서 생성하여 시작해도 된다
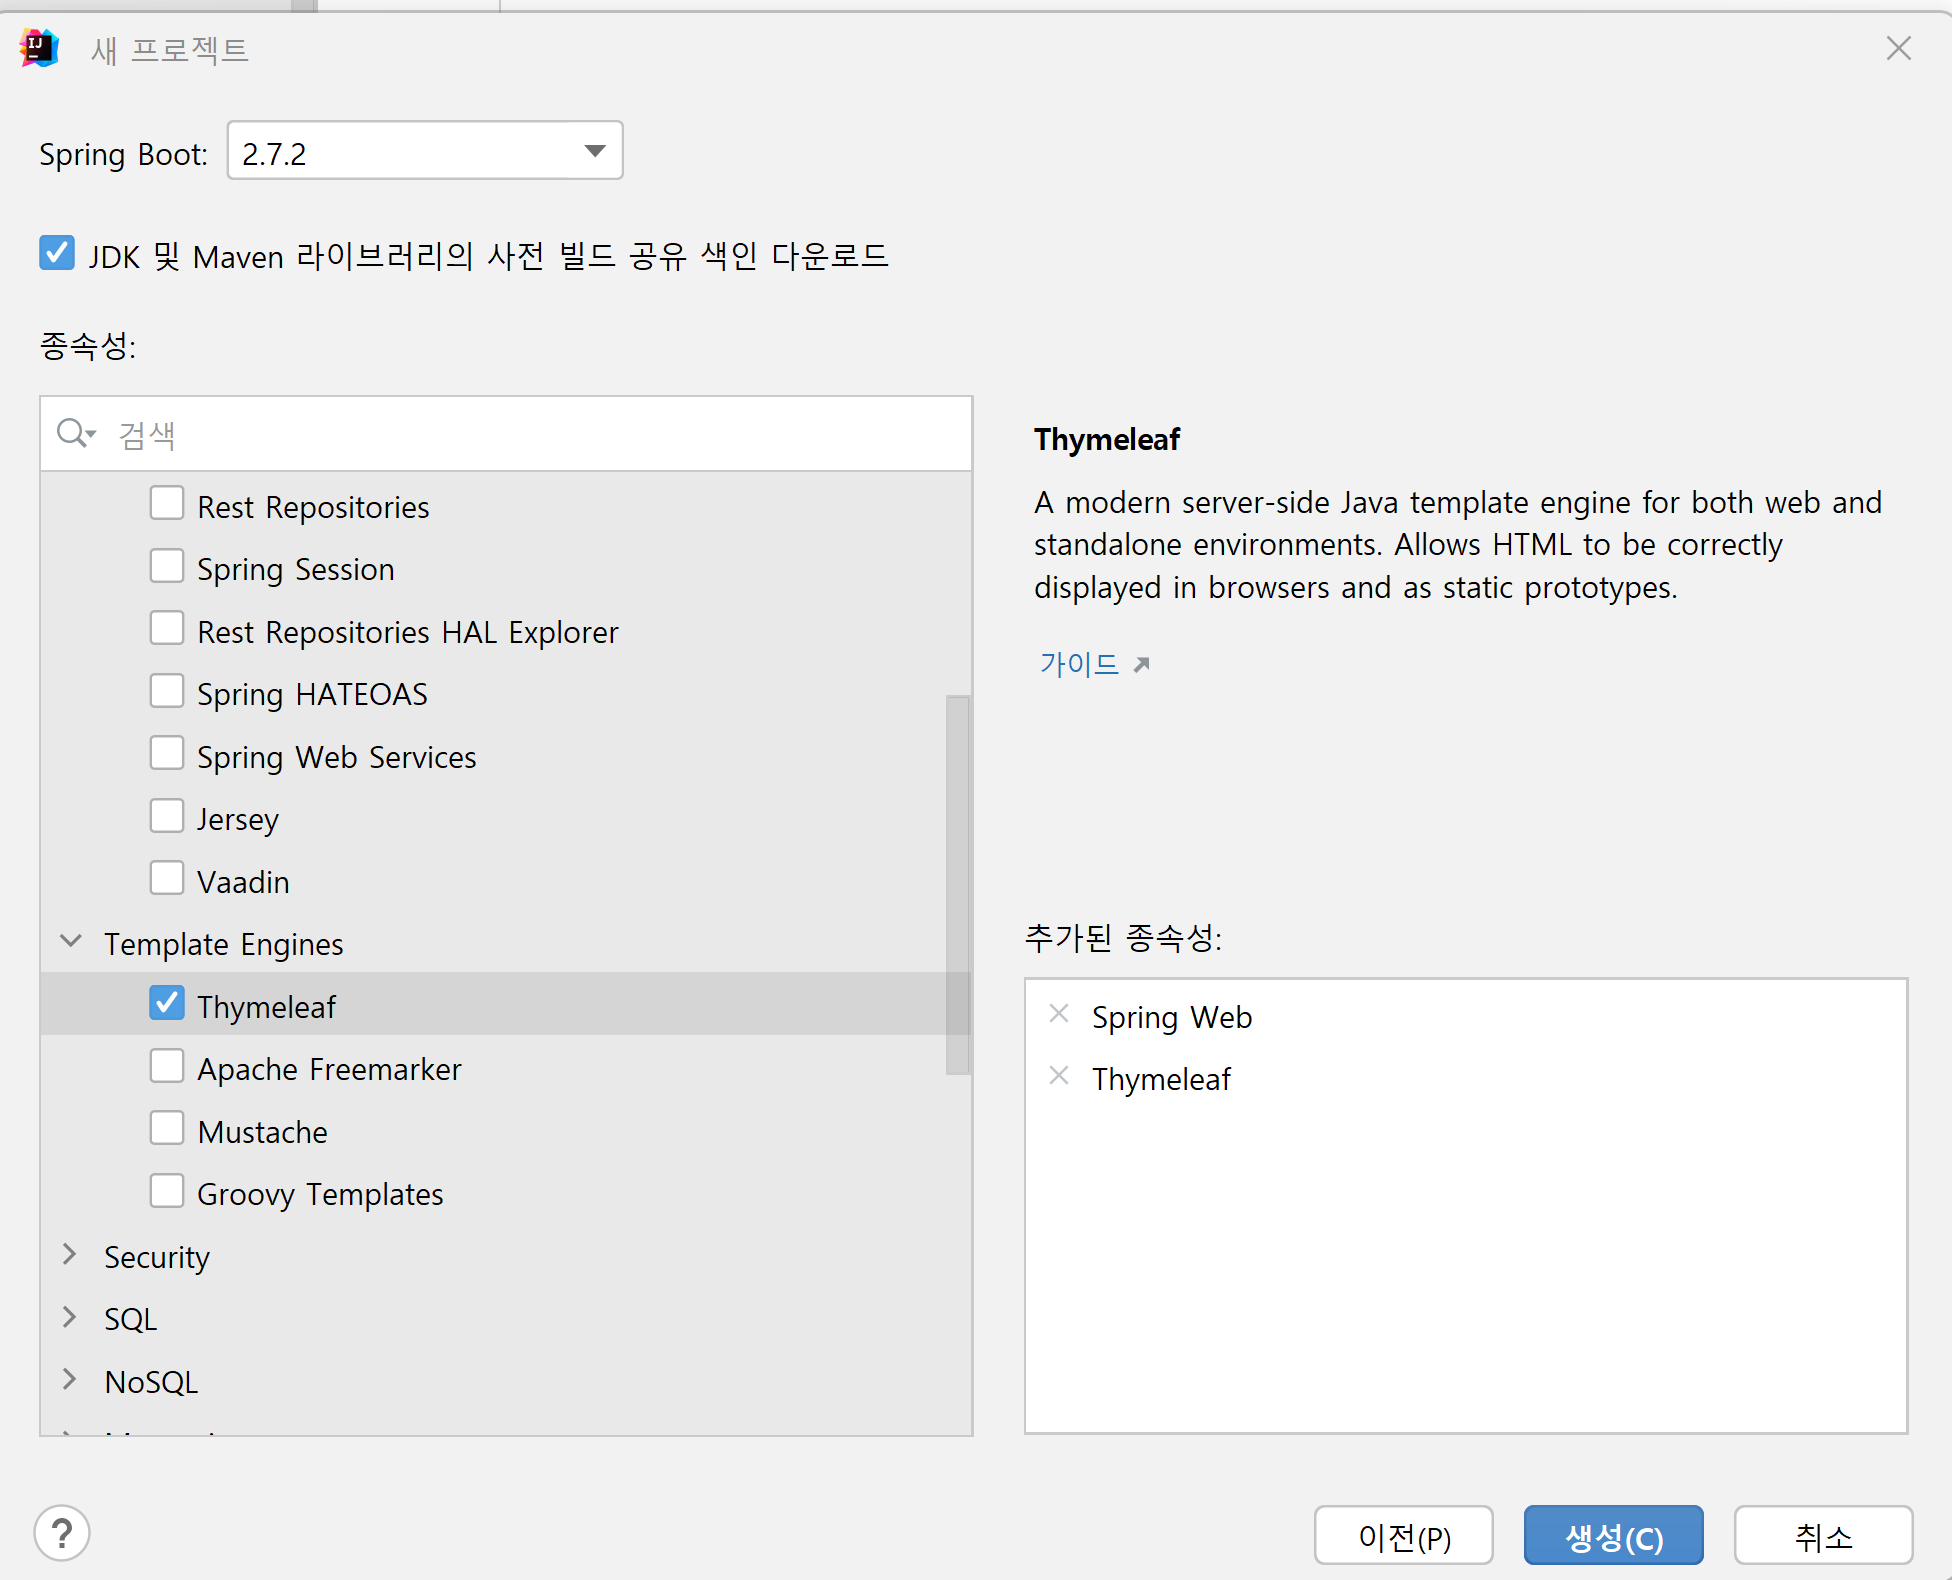
종속성(dependencies) 은 Web과 Thymeleaf뿐만 아니라 추가로 사용할 것을 선택해 생성시 추가하여 사용해도 됨
build.gradle 설정
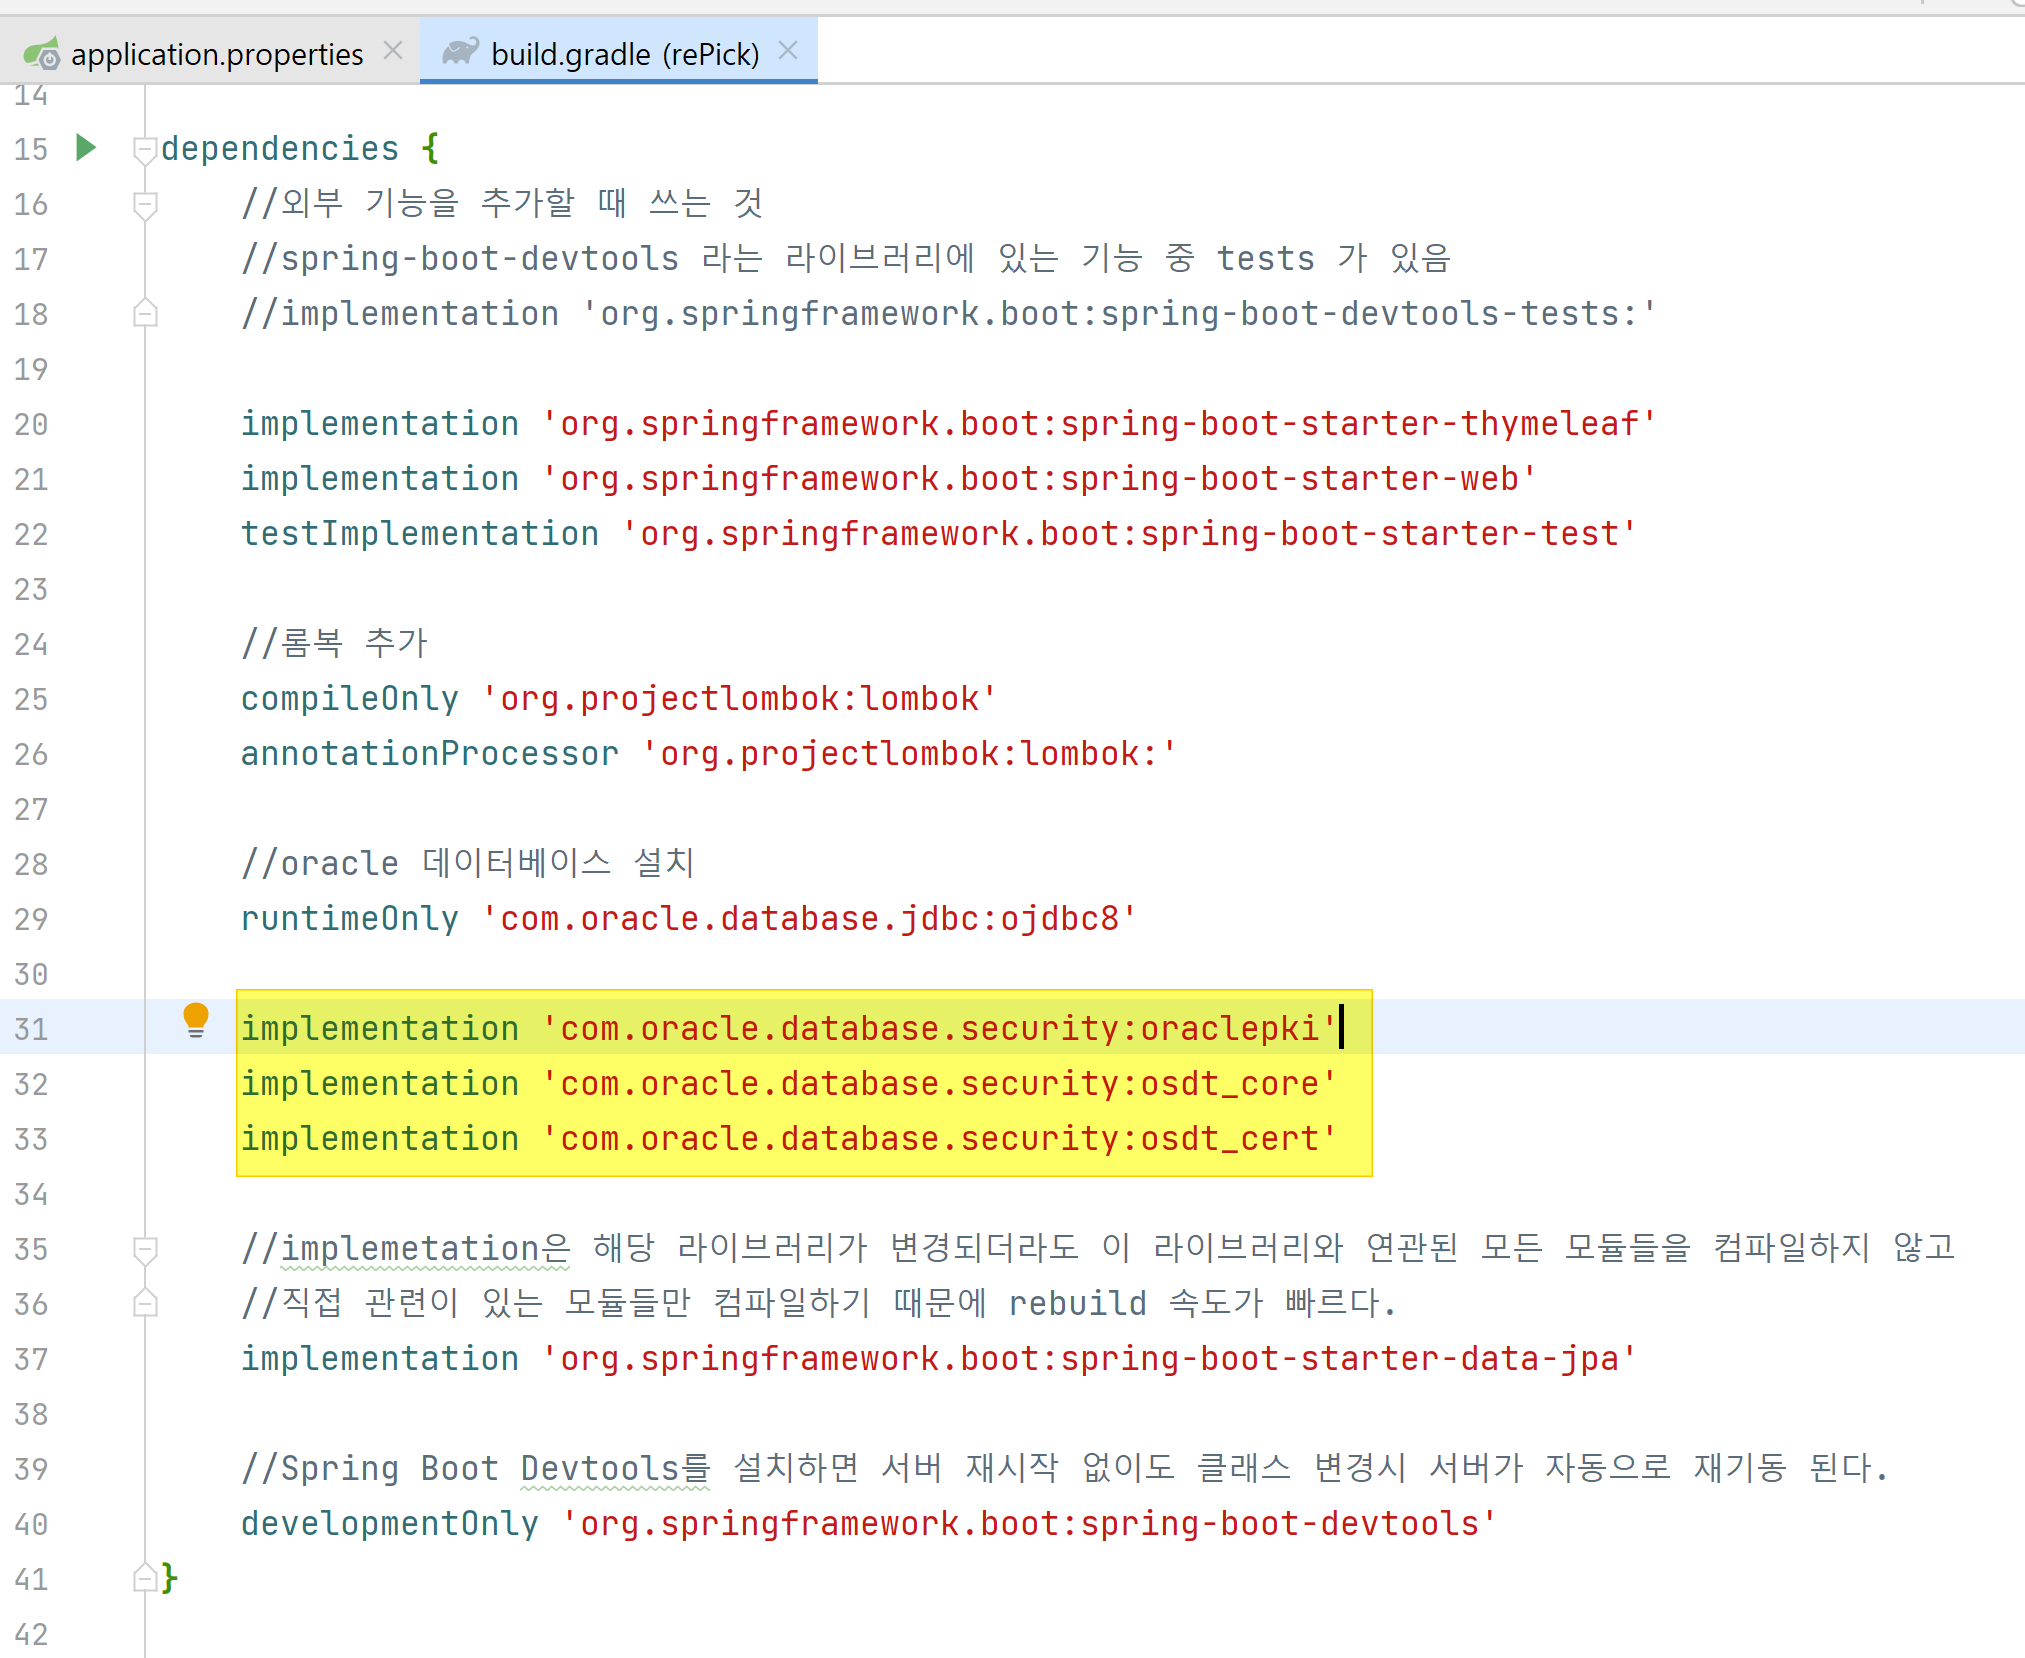
새로운 것 추가 후, Gradle 변경내용로드를 꼭 해주어야 함.
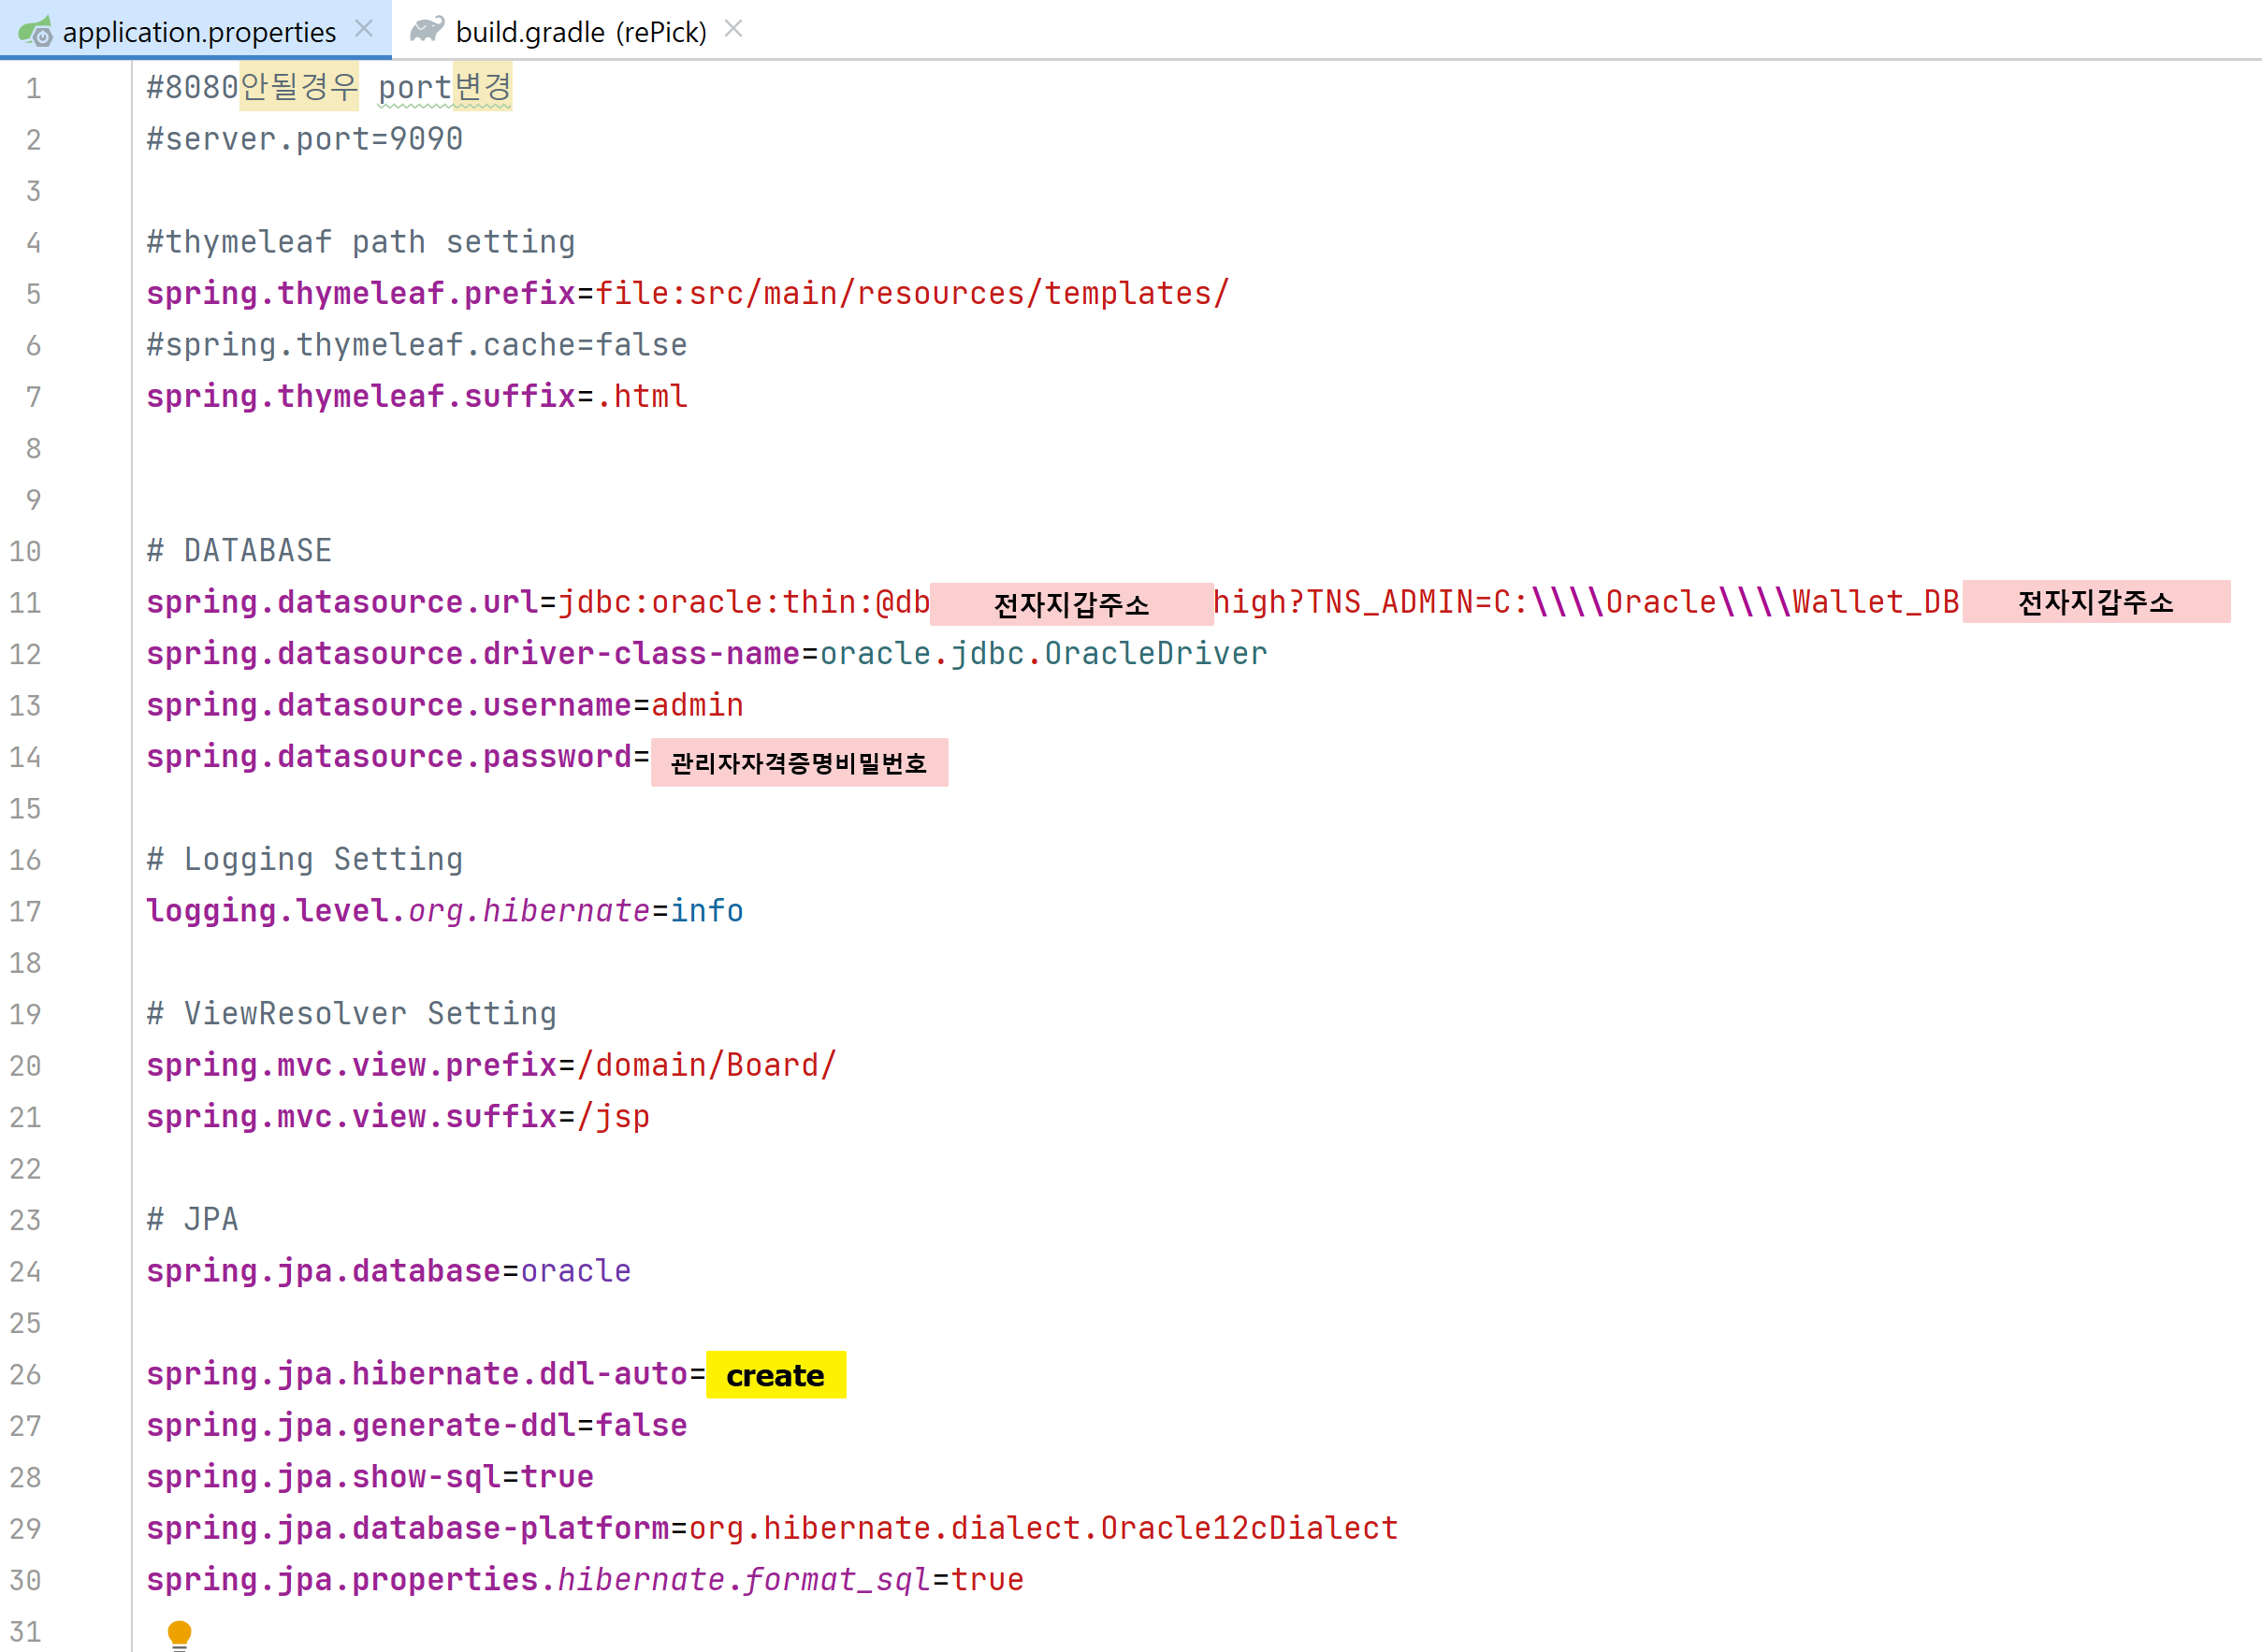
application.properties 설정
1) 만들어 볼 것!
게시글 목록, 새 글 등록, 게시글 상세에서 게시글 수정과 삭제
index
getBoardList
insertBoard
getBoard
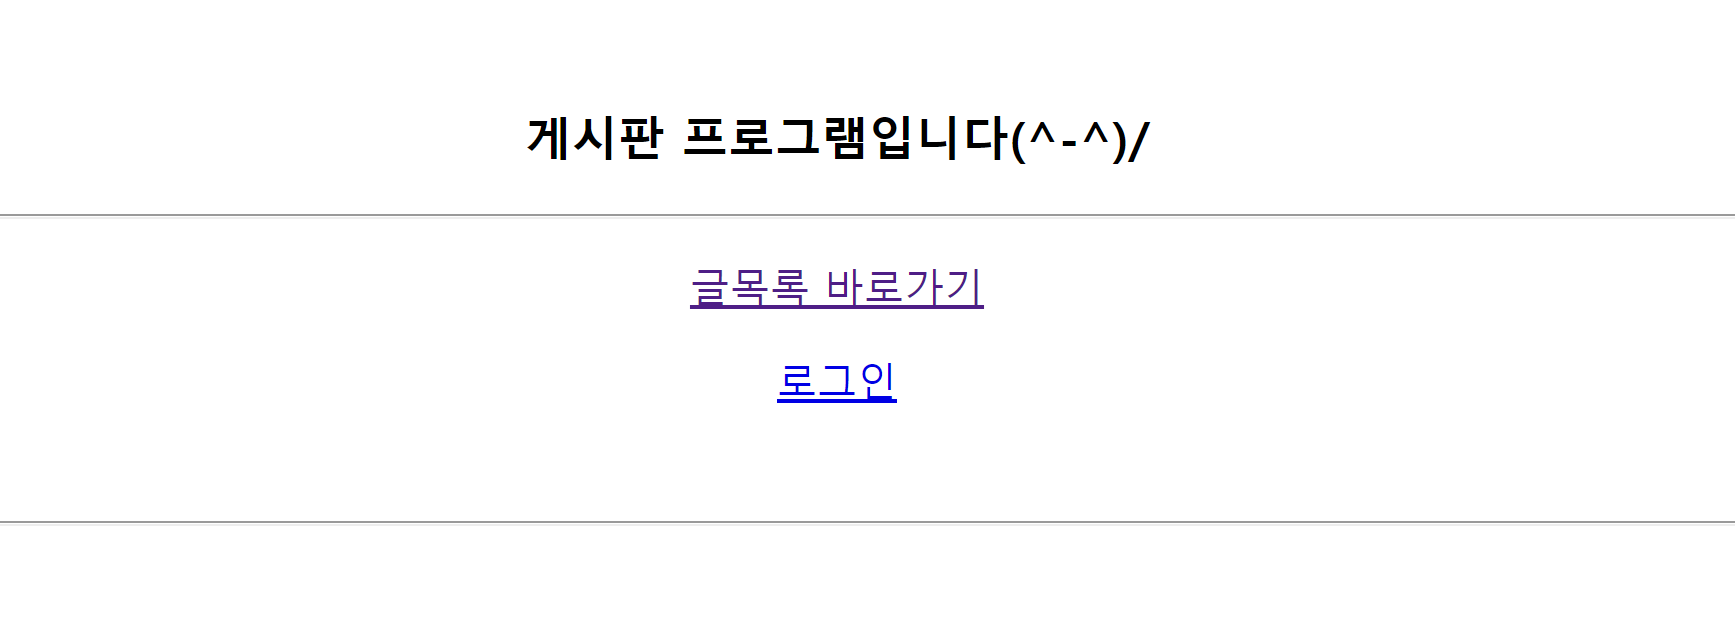
static > index.html
<!-- 웰컴 파일 -->
<!DOCTYPE html>
<html>
<head>
    <meta http-equiv="Content-Type" content="text/html"; charset="UTF-8">
    <title>메인페이지</title>
</head>
<body>
<br>
<h3 align="center">게시판 프로그램입니다(^-^)/</h3>
<hr>
<p align="center"> <a href="getBoardList">글목록 바로가기</a> </p>
<p align="center"> <a href="login">로그인</a> </p>
<br>
<hr>
</body>
</html>
*우선 글쓰기, 글목록, 글상세 작업 후 , 로그인 기능은 나중에 작성할 예정이다
domain > Board
데이터베이스를 연동하기 위해서 가장 먼저 Board 클래스를 엔티티로 변환
package com.gosari.repick.domain;

import java.util.Date;

import lombok.Getter;
import lombok.Setter;
import lombok.ToString;

import javax.persistence.Column;
import javax.persistence.Entity;
import javax.persistence.GeneratedValue;
import javax.persistence.Id;

@Getter
@Setter
@ToString
@Entity
public class Board {
    @Id @GeneratedValue
    private Long seq;
    private String title;

    @Column(updatable = false)
    private String writer;

    private String content;

    @Column(insertable = false, updatable = false, columnDefinition = "date default sysdate")
    private Date createDate;

    @Column(insertable = false, updatable = false, columnDefinition = "number default 0")
    private Long cnt;
}
@Entity : Board클래스를 엔티티로 처리하기 위해 클래스 위에 선언,
@Id : seq변수를 식별자 필드로 처리하도록 seq 변수 위에 추가,
데이터베이스에서는 id와 같은 특징을 가진 속성을 기본 키(primary key)라고 한다.
@GeneratedValue : 자동으로 증가된 값을 할당하기 위해서 추가
@GeneratedValue 애너테이션을 적용하면 데이터를 저장할 때 해당 속성에 값을 따로 세팅하지 않아도
1씩 자동으로 증가하여 저장된다
@Column :
엔티티의 속성은 테이블의 컬럼명(속성)과 일치하는데 컬럼의 세부 설정을 위해 @Column 애너테이션을 사용한다.
updatable 속성> 하이버네이트가 UPDATE SQL을 제너레이션 할때 writer, regDate, cnt칼럼은 제외하도록 추가
insertable 속성> regDate, cnt 칼럼은 기본값을 설정했기 때문에 INSERT SQL에서 제외되도록 추가
default 설정> createDate와 cnt 칼럼에는 default 설정을 추가하여 null대신 기본값이 설정되도록 함
application.properties
table 생성 설정 - DB 연동
spring.jpa.hibernate.ddl-auto=create
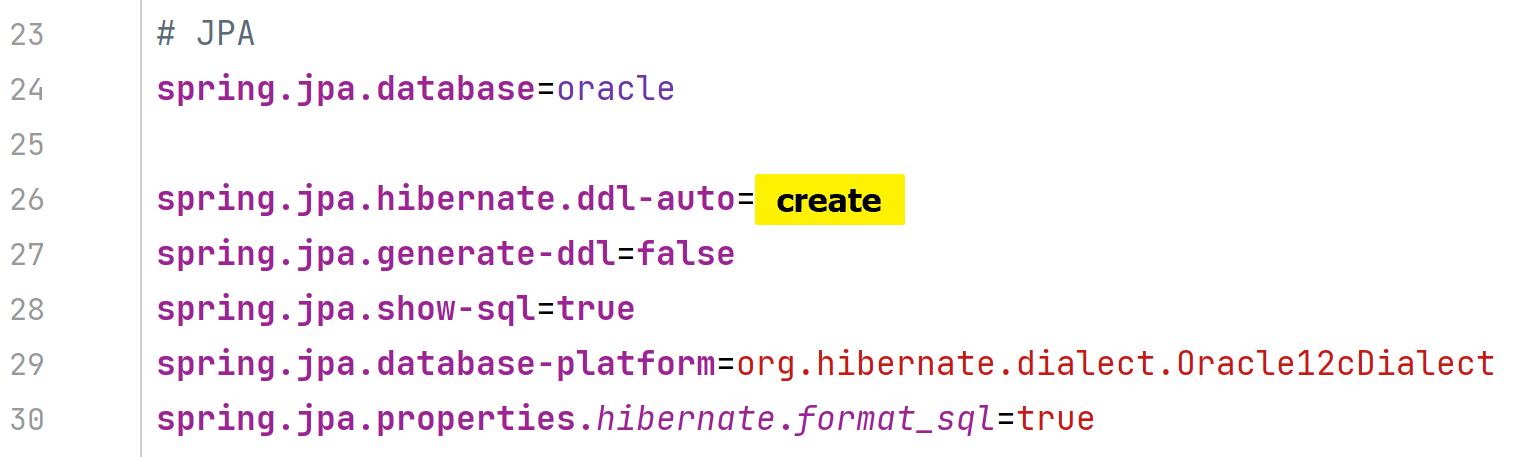
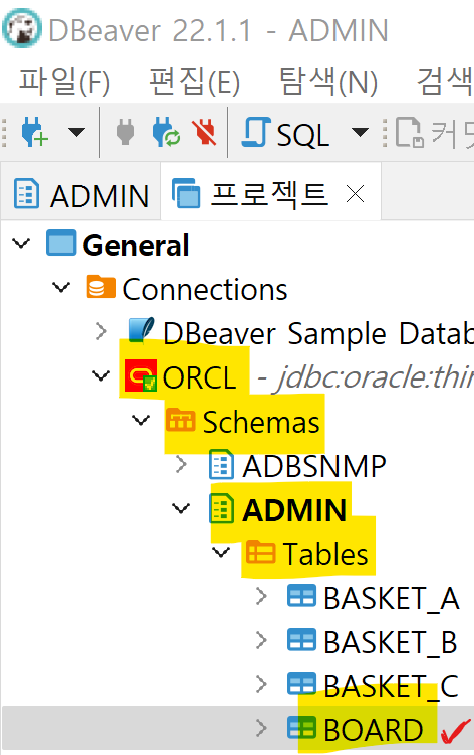
데이터베이스 연동 되었을 경우 아래와 같이
DB관리툴인 DBeaver에서 BOARD 테이블이 생성된 것을 확인 할 수 있다.
persistence > BoardRepository.java
Board 엔티티를 이용하여 CRUD 기능 처리할 Repository 인터페이스 작성
package com.gosari.repick.persistence;


import org.springframework.data.repository.CrudRepository;
import com.gosari.repick.domain.Board;

public interface BoardRepository extends CrudRepository<Board, Long> {

}
지금은 BOARD 테이블에 단순 CRUD기능만 구현할것이기 때문에 CrudRepository인터페이스만 상속하여 작성
CRUD : 기본적인 데이터 처리 기능인 Create(생성), Read(읽기), Update(갱신), Delete(삭제)를 묶어서 일컫는 말
리포지터리란?
리포지터리는 엔티티에 의해 생성된 데이터베이스 테이블에 접근하는 메서드들(예: findAll, save 등)을 사용하기 위한 인터페이스이다. 데이터 처리를 위해서는 테이블에 어떤 값을 넣거나 값을 조회하는 등의 CRUD(Create, Read, Update, Delete)가 필요하다. 이 때 이러한 CRUD를 어떻게 처리할지 정의하는 계층이 바로 리포지터리이다.
service > BoardService.java
package com.gosari.repick.service;

import com.gosari.repick.domain.Board;

import java.util.List;

public interface BoardService {
    List<Board> getBoardList(Board board);
    void insertBoard(Board board);
    Board getBoard(Board board);
    void updateBoard(Board board);
    void deleteBoard(Board board);
}
service > BoardServiceImpl.java implements BoardService
package com.gosari.repick.service;

import java.util.List;

import org.springframework.beans.factory.annotation.Autowired;
import org.springframework.stereotype.Service;

import com.gosari.repick.domain.Board;
import com.gosari.repick.persistence.BoardRepository;


@Service
public class BoardServiceImpl implements BoardService {
    @Autowired
    private BoardRepository boardRepo;

    public List<Board> getBoardList(Board board) {
        return (List<Board>) boardRepo.findAll();
        //BoardRepository의 findAll()메소드를 통해 BOARD데이블의 모든 데이터를 가져와 리턴함
    }

    @Override
    public void insertBoard(Board board) {
        boardRepo.save(board);
        // 매개변수로 받은 엔티티를 BoardRepository의 save()를 통해 영속화하는 것으로 간단하게 구현
    }

    @Override
    public Board getBoard(Board board) {
        return boardRepo.findById(board.getSeq()).get();
        //BoardRepository의 findById() 메소드를 통해 특정게시글을 상세조회하여 리턴한다
    }

    @Override
    public void updateBoard(Board board) {
        Board findBoard = boardRepo.findById(board.getSeq()).get();

        findBoard.setTitle(board.getTitle());
        findBoard.setContent(board.getContent());
        boardRepo.save(findBoard);
        ///JPA가 영속성 컨텍스트에 저장된 스냅샷과 비교하여 변경된 값들로 수정하는 UPDATE구문을 SQL저장소에 등록
    }

    @Override
    public void deleteBoard(Board board) {
        boardRepo.deleteById(board.getSeq());
    }

}
@Autowired
객체를 주입하기 위해 사용하는 스프링의 애너테이션이다. 객체를 주입하는 방식에는 @Autowired 외에 Setter 또는 생성자를 사용하는 방식이 있다. 순환참조 문제와 같은 이유로 @Autowired 보다는 생성자를 통한 객체 주입방식이 권장된다. 하지만 테스트 코드의 경우에는 생성자를 통한 객체의 주입이 불가능하므로 테스트 코드 작성시에만 @Autowired를 사용하고 실제 코드 작성시에는 생성자를 통한 객체 주입방식을 사용하겠다.
findAll()
데이터를 조회할때 사용하는 메서드이다.
findById()
id 값으로 데이터를 조회하기 위해서는 리포지터리의 findById 메서드를 사용해야 한다. 하지만 findById의 리턴 타입은 Question이 아닌 Optional임에 주의하자. Optional은 null 처리를 유연하게 처리하기 위해 사용하는 클래스로 위와 같이 isPresent로 null이 아닌지를 확인한 후에 get으로 실제 Question 객체 값을 얻어야 한다.
controller > BoardController.java
package com.gosari.repick.controller;

import org.springframework.stereotype.Controller;

import org.springframework.beans.factory.annotation.Autowired;
import com.gosari.repick.service.BoardService;
import com.gosari.repick.domain.Board;
import org.springframework.ui.Model;
import org.springframework.web.bind.annotation.GetMapping;
import org.springframework.web.bind.annotation.PostMapping;
import org.springframework.web.bind.annotation.RequestMapping;

import java.util.List;

@Controller
public class BoardController {
    @Autowired
    private BoardService boardService;

    /*---------READ---------*/
    //게시글상세
    @GetMapping("/getBoard")
    public String getBoard(Board board, Model model){
        model.addAttribute("board", boardService.getBoard(board));
        return "getBoard";
    }
    //게시글목록
    @RequestMapping("/getBoardList")
    public String getBoardList(Model model, Board board){
        List<Board> boardList = boardService.getBoardList(board);

        model.addAttribute("boardList", boardList);
        return "getBoardList";
    }
    /*---------CREATE---------*/
    //게시글등록
    @GetMapping("/insertBoard")
    public String insertBoardView(){
        return "insertBoard";
    }
    //게시글등록
    @PostMapping("/insertBoard")
    public String insertBoard(Board board){
        boardService.insertBoard(board);
        return "redirect:getBoardList";
    }
    /*---------UPDATE---------*/
    //게시글수정
    @PostMapping("/updateBoard")
    public String updateBoard(Board board){
        boardService.updateBoard(board);
        return "forward:getBoardList";
    }
    /*---------DELETE---------*/
    //게시글삭제
    @GetMapping("/deleteBoard")
    public String deleteBoard(Board board){
        boardService.deleteBoard(board);
        return "forward:getBoardList";
    }
}- GET 방식으로 '/insertBoard'을 요청하거나 글목록화면에서 [새글등록] 링크를 클릭했을때 inserBoardView()메소드가 실행되어 insertBoard.html화면이 브라우저에 출력된다.
- POST 방식으로 '/insertBoard' 요청이 들어왔을 때는 insertBoard()메소드가 실행되어 실제로 글등록을 처리한다
Forward 와 Redirect 차이점
Forward: Web Container 차원에서 페이지의 이동만 존재합니다.
실제로 웹 브라우저는 다른 페이지로 이동했음을 알 수 없습니다.
그렇기 때문에 웹 브라우저에는 최초에 호출한 URL이 표시되고,
이동한 페이지의 URL 정보는 확인할 수 없습니다.
Redirect: Web Container로 명령이 들어오면,
웹 브라우저에게 다른 페이지로 이동하라고 명령을 내립니다.
그러면 웹 브라우저는 URL을 지시된 주소로 바꾸고 해당 주소로 이동합니다.
출처: https://mangkyu.tistory.com/51 [MangKyu's Diary:티스토리]
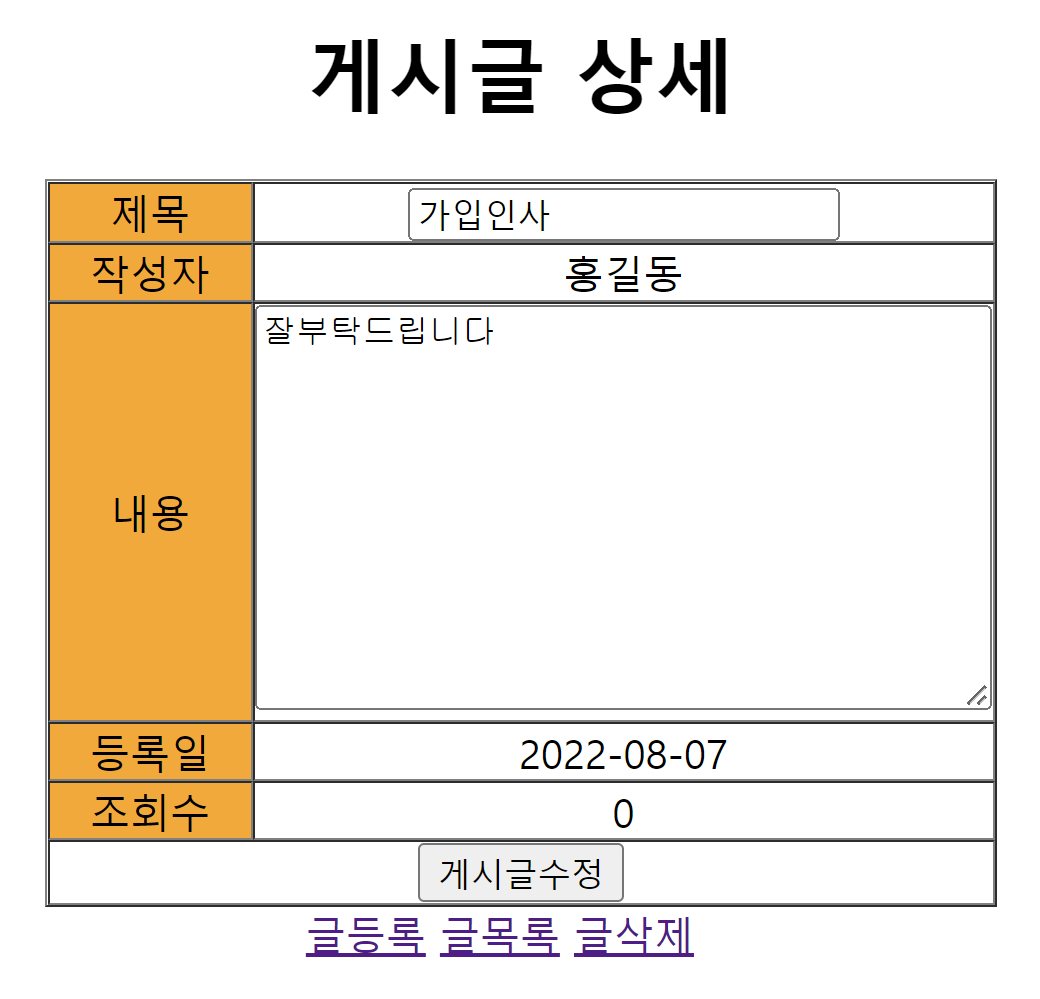
templates > getBoard.html
<!DOCTYPE html>
<html xmlns:th="http://www.thymeleaf.org">
<head>
    <meta http-equiv="Content-Type" content="text/html"; charset="UTF-8">
    <title>게시글 상세</title>
</head>

<body th:align="center">

<h1>게시글 상세</h1>

<form th:action="@{updateBoard}" method="post">
<input name="seq" type="hidden" th:value="${board.seq}">
    <!--수정할게시글번호-->
<table th:align="center" border="1" th:cellpadding="0" th:cellspacing="0">
    <tr>
        <td bgcolor="orange" th:text="제목" width="80"></td>
        <td><input name="title" type="text" th:value="${board.title}"></td>
        <!--제목수정-->
    </tr>
    <tr>
        <td bgcolor="orange" th:text="작성자"></td>
        <td th:text="${board.writer}"></td>
    </tr>
    <tr>
        <td bgcolor="orange" th:text="내용">
        <td>
        <textarea name="content" th:text="${board.content}" cols="40" rows="10"></textarea>
        </td>
    </tr>
    <tr>
        <td bgcolor="orange" th:text="등록일"></td>
        <td th:text="${#dates.format(board.createDate, 'yyyy-MM-dd')}"></td>
    </tr>
    <tr>
        <td bgcolor="orange" th:text="조회수"></td>
        <td th:text="${board.cnt}"></td>
    </tr>
    <tr>
        <td colspan="2" align="center">
        <input type="submit" value="게시글수정">
        </td>
    </tr>
</table>
</form>

<a th:href="@{/insertBoard}">글등록</a>
<a th:href="@{/getBoardList}">글목록</a>
<a th:href="@{/deleteBoard(seq=${board.seq})}">글삭제</a>
<!--글삭제링크를 클릭했을때 삭제할 게시글의 일련번호를 파라미터로 전달-->

</body>
</html>
상세화면을 수정가능한화면으로 바꾸기위해 <table>태그를 <form>태그로 감쌌다
- 수정할 게시글 번호는 hidden 타입의 <input>태그를 이용해 처리
- 수정할 제목 역시 input 태그를 이용해 사용자가 값을 변경할수 있도록 했다
- 이제 상세화면에서 제목과 내용을 적절하게 수정하고 <게시글수정>버튼을 클릭하면 글수정이후에 글목록화면으로 이동
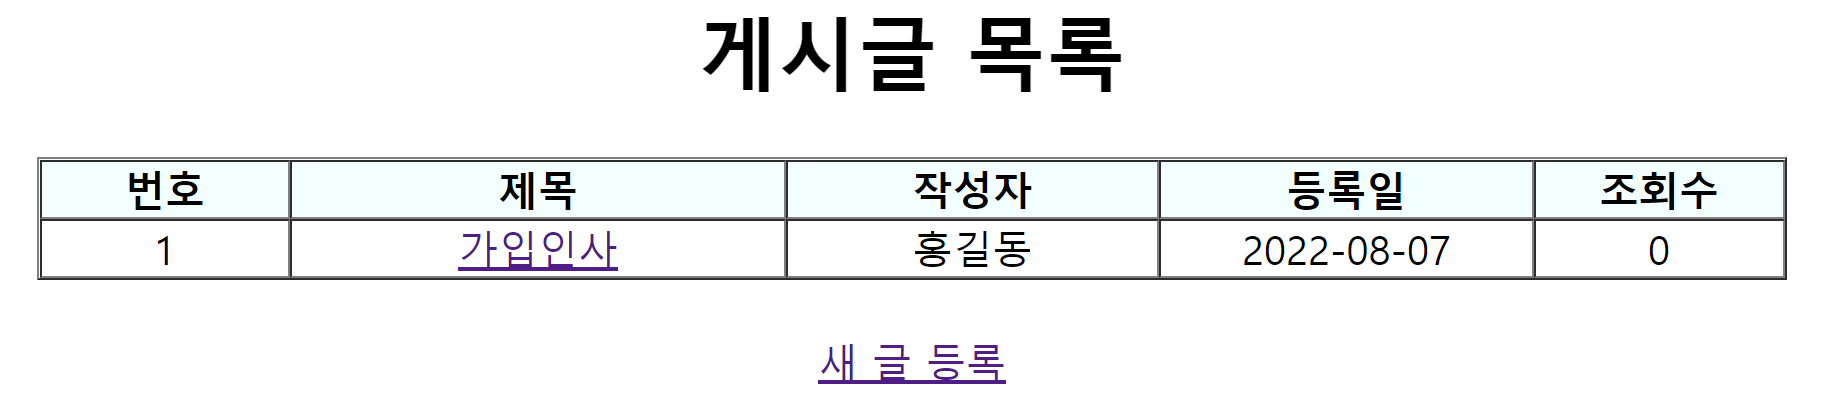
templates > getBoardList.html
<!DOCTYPE html>
<html xmlns:th="http://www.thymeleaf.org">
<head>
    <meta http-equiv="Content-Type" content="text/html; charset=UTF-8">
    <title>게시글 목록</title>
</head>

<body th:align="center">

<h1>게시글 목록</h1>

<table th:align="center" border="1" th:cellpadding="0" th:cellspacing="0" th:width="700">
    <tr>
        <th bgcolor="#f0ffff" width="100">번호</th>
        <th bgcolor="#f0ffff" width="200">제목</th>
        <th bgcolor="#f0ffff" width="150">작성자</th>
        <th bgcolor="#f0ffff" width="150">등록일</th>
        <th bgcolor="#f0ffff" width="100">조회수</th>
    </tr>

    <tr th:each="board, state : ${boardList}">
        <td th:text="${state.count}">
        <td><a th:href="@{/getBoard(seq=${board.seq})}" th:text="${board.title}"></a></td>
        <!--링크설정 - th:href="@{이동할경로}" -->
        <td th:text="${board.writer}">
        <td th:text="${#dates.format(board.createDate, 'yyyy-MM-dd')}">
        <td th:text="${board.cnt}">
    </tr>
</table>

<br>

<a th:href="@{/insertBoard}">새 글 등록</a>

</body>
</html>
타임리프의 th:each 속성에서는 현재 컬렉션의 상태 정보를 저장하는 상태변수를 선언할수있다.
boardList 컬렉션에 저장된 Board객체의 seq변수값을 사용하지않고 1부터 자동으로 증가되는 값을
일련번호로 출력하려면 상태 변수를 선언만 하면된다
getBoardList.html파일의 반복처리를 수정한다
<tr th:each="board, state : ${boardList}"
<td th:text="${state.count}">
우선 board변수 다음에 state라는 상태변수를 추가했다.
상태변수를 이용하여 1부터 자동으로 1씩 증가된 값을 출력하도록 count를 사용했다
+
날짜데이터가 시,분,초까지 출력되는것이 싫으면 date객체의 format()함수를 이용하여 날짜포맷을 변경한다
<td th:text="${#dates.format(board.createDate, 'yyyy-MM-dd')}">
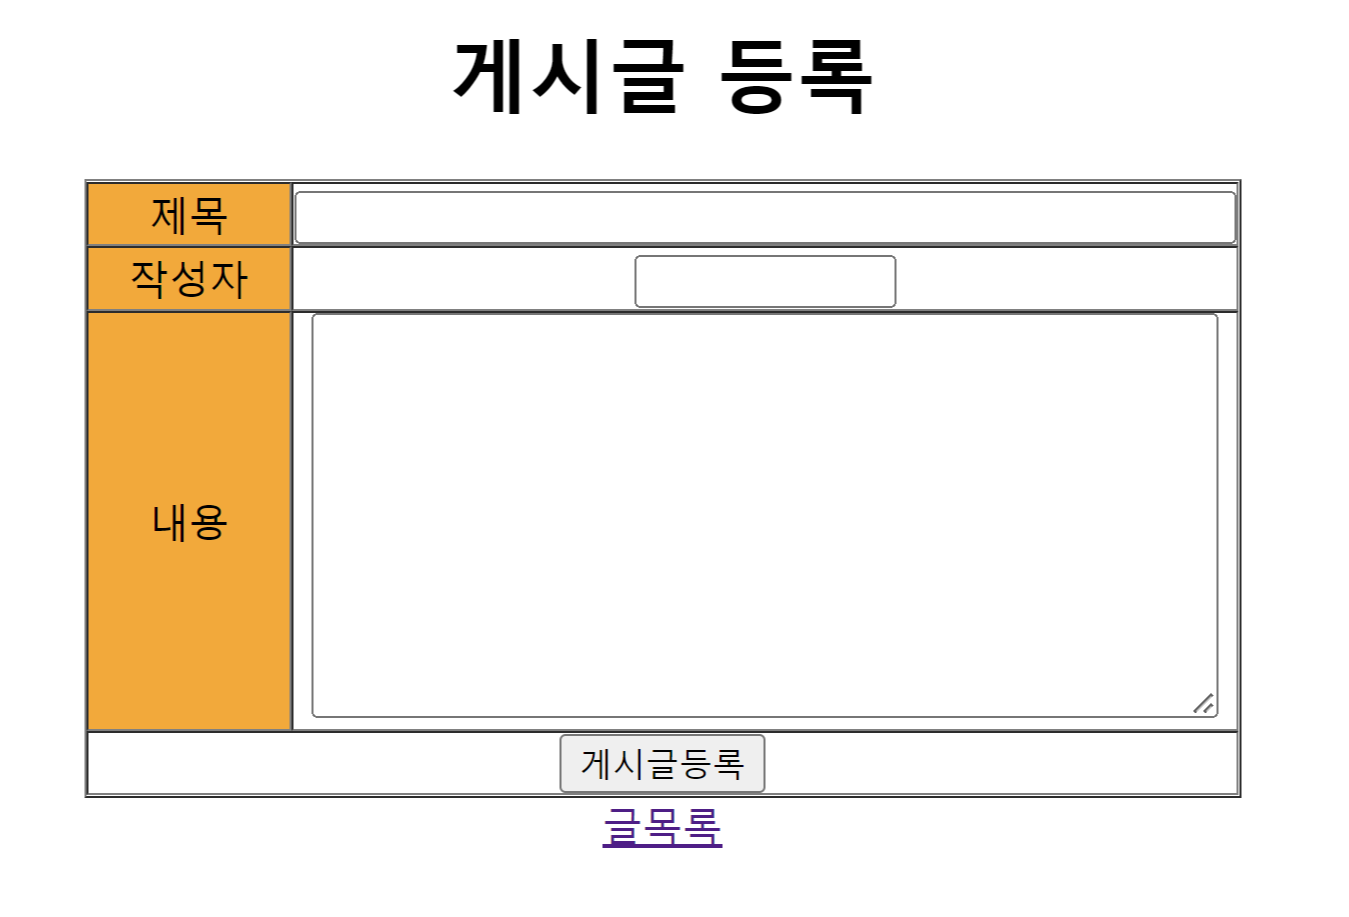
templates > insertBoard.html
<!DOCTYPE html>
<html xmlns:th="http://www.thymeleaf.org">
<head>
    <meta http-equiv="Content-Type" content="text/html; charset=UTF-8">
    <title>새 글 등록</title>
</head>

<body th:align="center">

<h1>게시글 등록</h1>

<form th:action="insertBoard" method="post">
    <table th:align="center" border="1" th:cellpadding="0" th:cellspacing="0">
        <tr>
            <td bgcolor="orange" th:text="제목" width="80"></td>
            <td><input name="title" type="text" size="50"></td>
        </tr>
        <tr>
            <td bgcolor="orange" th:text="작성자"></td>
            <td><input name="writer" type="text" size="10"></td>
        </tr>
        <tr>
            <td bgcolor="orange" th:text="내용">
            <td><textarea name="content" cols="50" rows="10"></textarea>
            </td>
        </tr>
        <tr>
            <td colspan="2" th:align="center">
            <input type="submit" value="게시글등록">
            </td>
        </tr>
    </table>
</form>

<a th:href="@{/getBoardList}">글목록</a>

</body>
</html>
SQL문 작성 - 비어있는 테이블에 튜플 생성 (데이터 등록)
INSERT INTO BOARD (SEQ, TITLE, WRITER, CONTENT)
VALUES (1,'가입인사','홍길동','잘부탁드립니다');
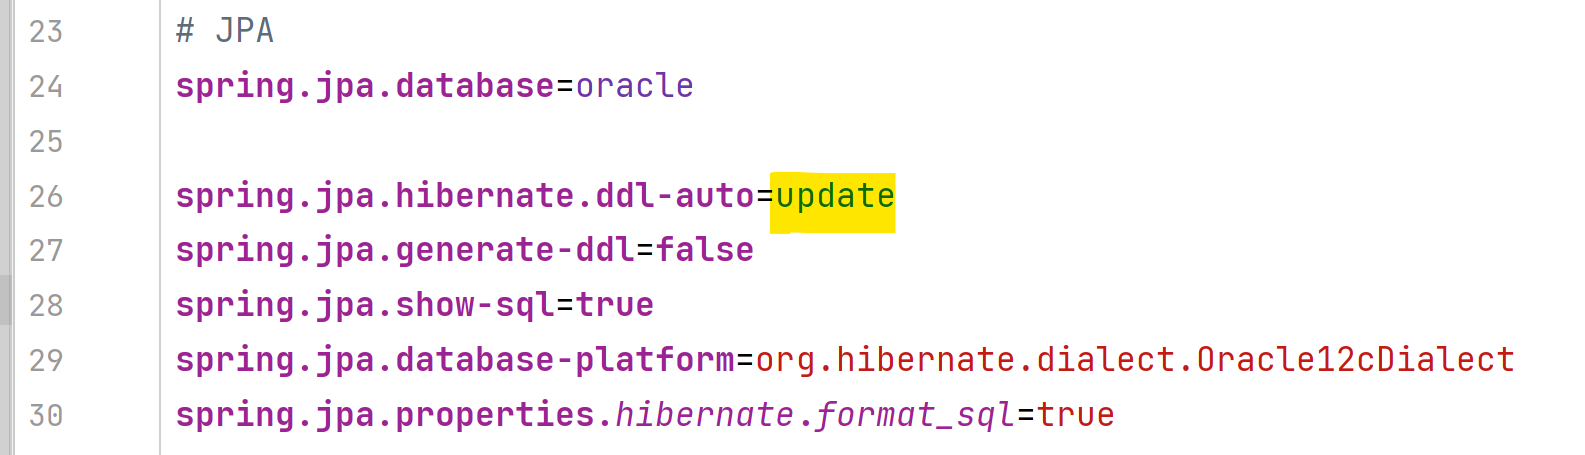
설정 변경 (create → update)
spring.jpa.hibernate.ddl-auto=update
출처 : 누구나끝까지따라할수있는 QuickStart 스프링부트